Sellers · 7 min read
Most sellers over-clean and under-prepare. They scrub the skirtings and then leave the bin bag in frame, the towels mismatched and the cars in the driveway. Here's what actually matters when you're getting a house ready for listing photos, based on what we fix on site every week.
By Kyle de Villiers · Published
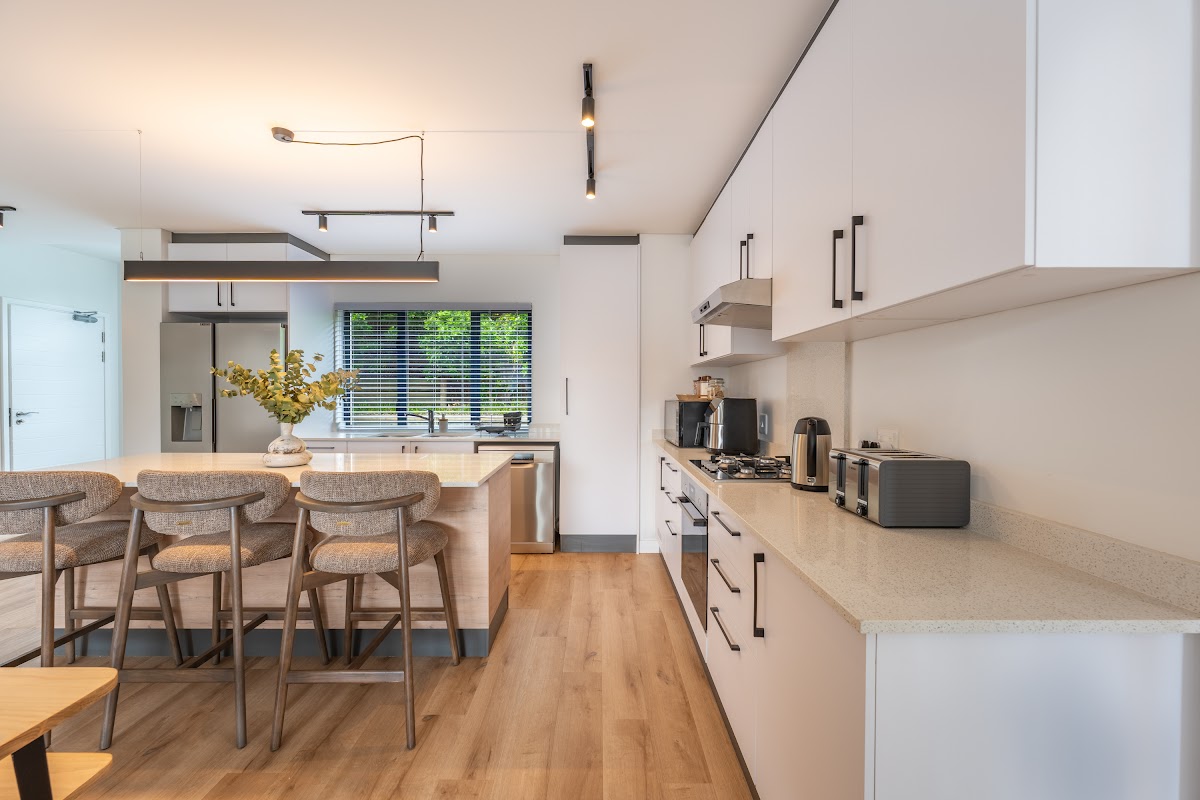
Clear every surface down to two or three objects, get all cars off the driveway and out of the street view, open every curtain and blind, and switch on every light in the house. Those four things fix more photos than a deep clean does. Then work room by room the day before, not the morning of, so you're not rushing when the photographer arrives.
That's the short version. The rest of this is the detail, because the difference between a listing that gets tapped and one that gets scrolled past is usually a handful of small things nobody told the seller about.
A wide-angle lens takes in more than you do standing in the room. It sees the corner behind the door, the charger cable on the floor, the edge of the laundry basket you thought was out of shot. It also flattens depth, so a room that feels cosy in person can look cluttered in frame.
That cuts both ways. A room that feels a bit bare to you, with the couch pulled thirty centimetres off the wall and the side table cleared, usually photographs better than the version you actually live in. Style for the camera, not for Tuesday night.
Definition
Listing photography: The set of edited images that represent a property everywhere a buyer first sees it, from portals to WhatsApp. It usually includes exterior hero shots, wide-angle interior coverage of every main room, colour grading and sky replacement.
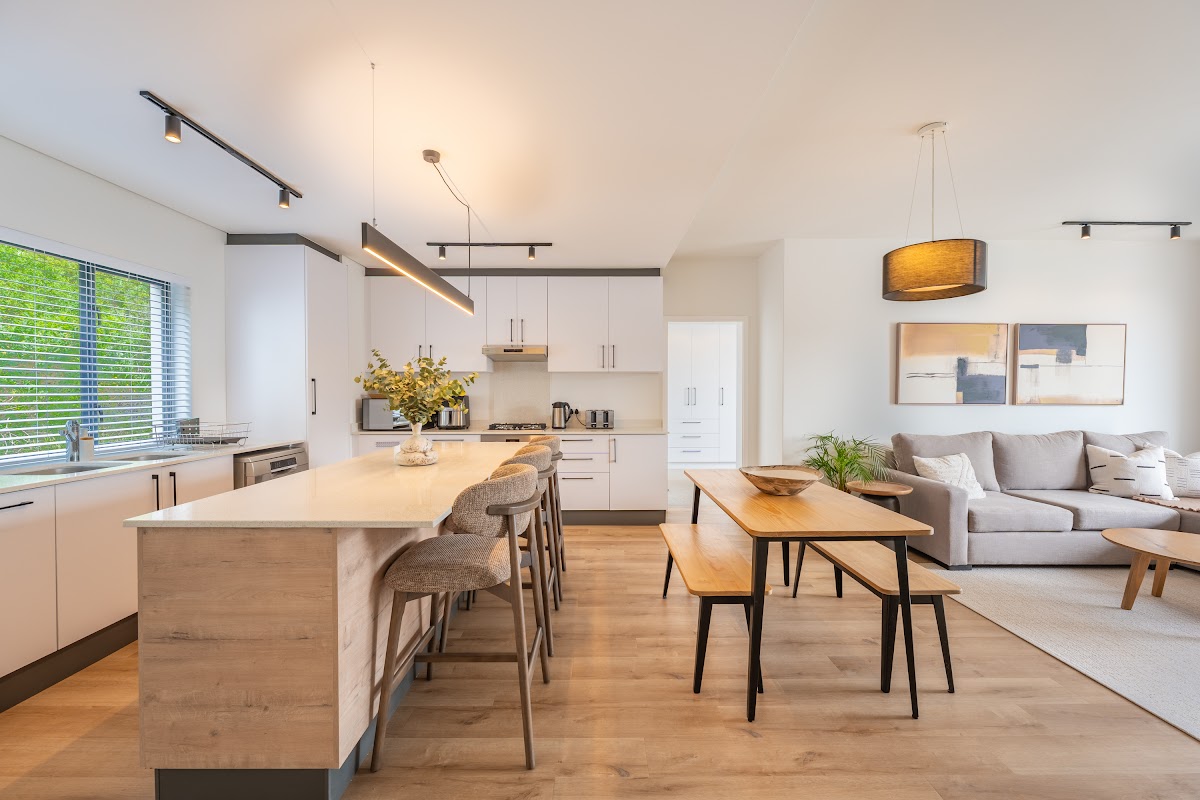
Kitchen. This is the room that costs sellers the most. Clear the counters completely, then put back two things at most. A kettle and a bowl of lemons. Everything else goes in a cupboard: the toaster, the knife block, the dish rack, the vitamin bottles. Strip the fridge door of every magnet, school note and photo. Take the dishcloth off the tap.
Living room. Pull the furniture slightly away from the walls. Angle the armchairs in towards the couch rather than facing the TV. Remove remotes, charger cables, magazines, the pet bed. Fluff the cushions and cut the number of them in half. If you have a rug that's curling at the corner, tape it down.
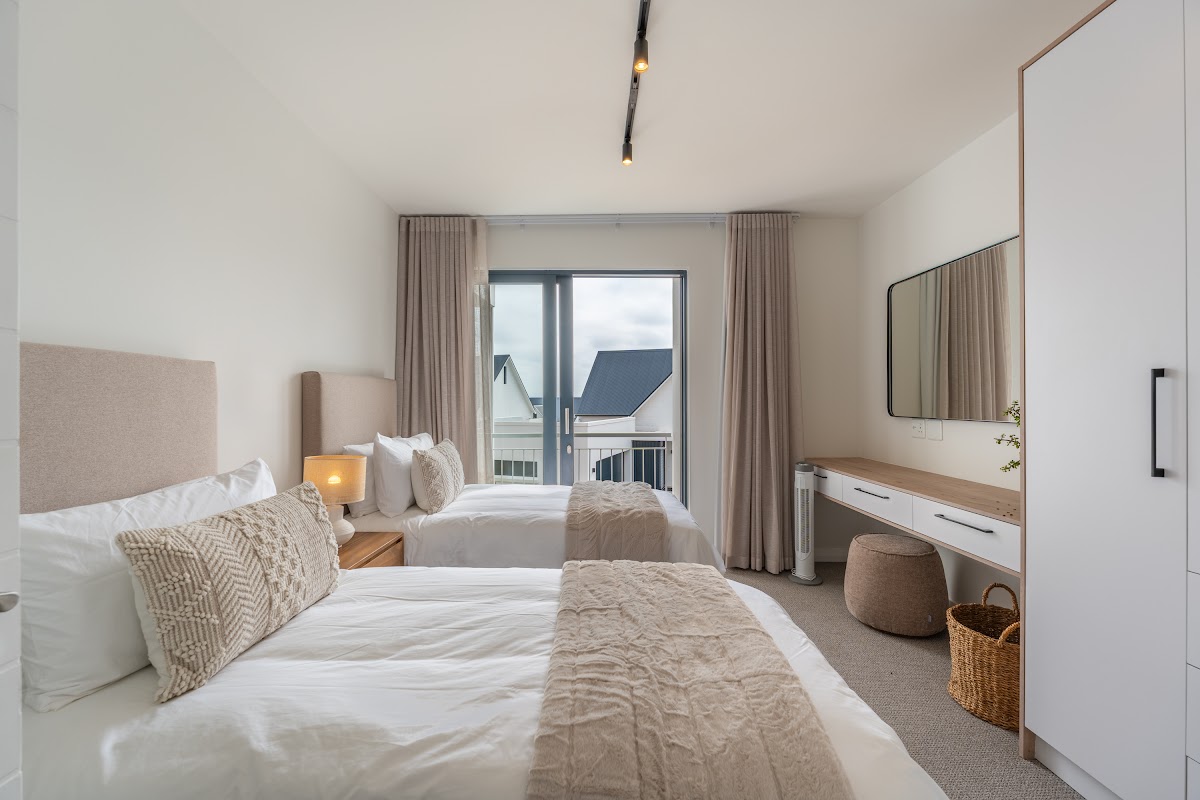
Bedrooms. Make the beds properly, with matching linen and no visible creases. Iron the duvet cover if you have to, it shows. Clear the bedside tables to a lamp and maybe one book. Get all washing, shoes and laundry baskets out of sight. Kids' rooms: toys into a box, box into a cupboard, keep one or two nice items on a shelf.
Bathrooms. Every product off the counter and out the shower. Shampoo bottles read as clutter in a photo, always. Matching towels, folded, or no towels at all. Toilet seat down, toilet brush and bin out of the room entirely. Close the shower door or open it fully, not halfway.
Outside. Mow, sweep the paving, coil the hose out of sight. Move the wheelie bin behind a wall. Pool cleaner out of the pool and stored away, net the leaves. Garden furniture straightened and cushions on. If you've got a braai area, clear it down to the braai itself.
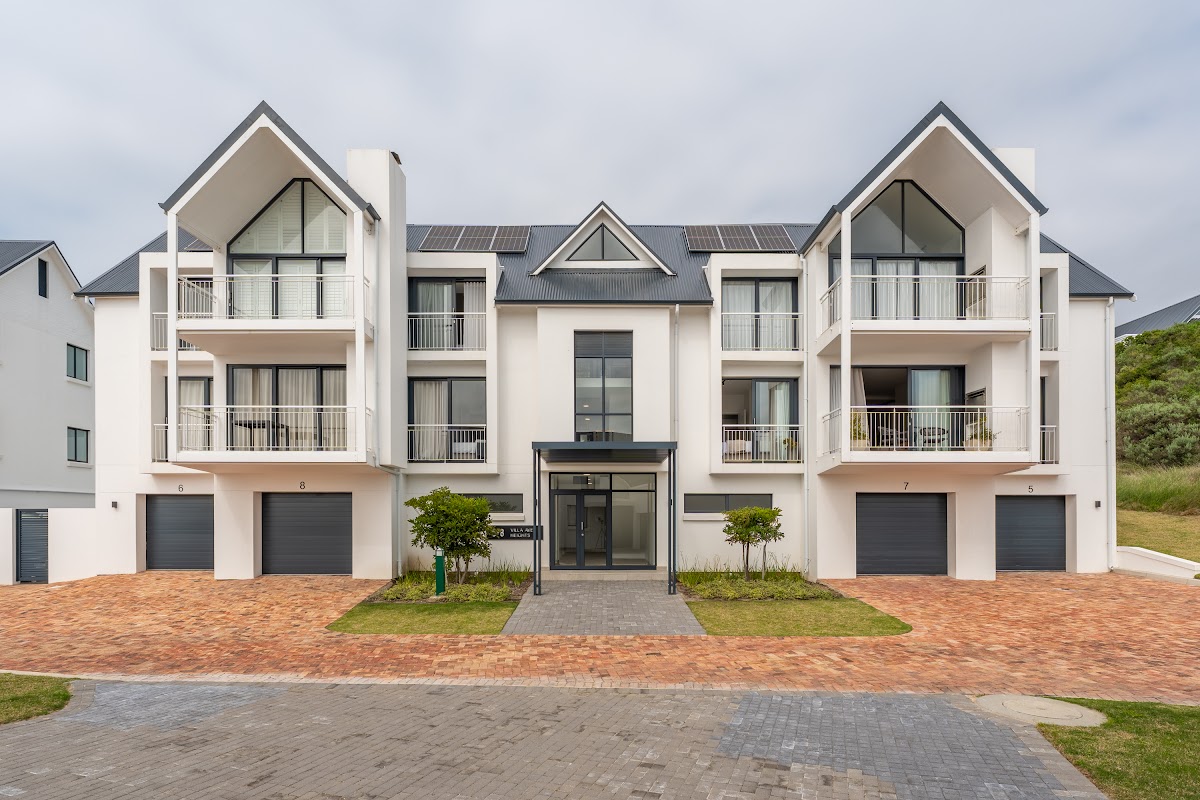
Cars are the big one. Every vehicle off the driveway and, if you can, off the street directly in front of the house. We shoot the arrival shot from the kerb and a bakkie parked across the frame kills it. Ask the neighbour too if their car sits right at your boundary.
Switch on every light in the house, including passages and cupboard lights, about ten minutes before we arrive. Mixed lighting takes work in the edit but lit rooms read as warm and lit houses photograph better than bright empty ones. Open all curtains and blinds fully, and set every blind to the same angle.
Then the last pass: bins out of sight, dog bowls and litter tray away, bathmats straight, no dishes in the sink, no towels over the oven handle. Take the pets with you or keep them in one room and tell us which.
Sellers spend money in the wrong places. Here's roughly how the effort stacks up.
| What sellers do | Does it show in photos? | Worth the effort |
|---|---|---|
| Clearing all surfaces | Every single frame | Highest return, costs nothing |
| Deep cleaning skirtings and grout | Rarely visible | Do it for viewings, not photos |
| Repainting a tired room | Yes, badly scuffed walls show | Only if the damage is obvious |
| Fresh flowers and a fruit bowl | Yes, adds colour to flat rooms | Cheap and effective |
| Replacing old furniture | Yes, but expensive | Skip unless the room is empty |
| Fixing a cracked pool light | Only in twilight shots | Worth it if you're booking twilight |
Not every photo carries equal weight. Three do most of the work.
The arrival shot is the kerb and entrance, and it's usually the lead image on the portal. That's the one that decides whether a buyer taps in. Prep it hardest: cars gone, gate clean, plants tidy, no bins.
The hero room is whatever the house is best at. Open plan living, a kitchen you renovated, a lounge with a view. Spend your prep time there rather than spreading it evenly across nine rooms.
The proof shot is the thing the buyer needs to see to believe the price. The pool, the view, the garden size, the double garage. Make sure it's presentable and unobstructed.
If you're short on time, prep those three properly and do a quick tidy elsewhere. Better than half-preparing everything.
We'll usually aim for a time that suits the way your house faces, so a west-facing front gets shot in the afternoon and an east-facing one in the morning. Overcast is fine for interiors and we do sky replacement on exteriors as part of a standard shoot, so a grey Gqeberha morning isn't a reason to cancel. Properly wet weather is, because wet paving and dripping gardens look miserable no matter what the sky is doing.
If the forecast turns, tell us by 18:00 the day before and we'll move the booking at no cost. Booking lead time is usually three to seven days, so give yourself a week between the prep and the listing going live.
If your house has a view, a pool or good outdoor lighting, ask about a twilight session. It adds about 45 minutes on site and gives you a lead image that stands out on a portal page. It won't do much for a standard townhouse with no view, and we'll say so.
They prep the house beautifully and then let the agent upload the photos in the wrong order. The best image should be first, always, and the worst small bedroom shouldn't be sitting at number three. Your prep work only pays if the gallery is built properly when it goes live.
For the full prep list including what to tell your agent beforehand, read how to prepare your home for a real estate shoot. If you want to know what a shoot involves and what drives what it costs, that's on our pricing page.
Most homes need a full day of prep, split over the day before and the morning of the shoot. Decluttering surfaces and clearing rooms is the slow part and should happen the day before. The morning of, you only need about 30 minutes for lights, curtains, cars and a last tidy.
No, furnished homes photograph better than empty ones in almost every case. Furniture gives a room scale and warmth, and buyers struggle to judge how big an empty room is. If the house is already vacant, consider a few key pieces in the main living space rather than shooting bare rooms.
Yes, take down family photos, fridge magnets and personal certificates. Buyers need to picture themselves in the space, and personal items pull them out of that. It also protects your privacy, since those images sit publicly on a portal for months.
It depends which way the house faces, so let your photographer choose. A north or west-facing front looks best in the afternoon light, an east-facing one in the morning. Harsh midday sun in summer creates hard shadows on exteriors and is usually the worst window.
You can, but phone photos on a property portal sit next to professionally shot listings and the difference is obvious on a small screen. Phone cameras struggle with the dynamic range in a room with bright windows, so you get either a blown-out window or a dark interior. If your house is in a competitive price band, it's the wrong place to save money.
Standard property shoots deliver edited photos and video within 48 hours. That means you can prep and shoot on a Monday and have the listing live by Wednesday. If you need it faster, ask when you book, same-week urgent slots are often available.
Listings
The real mechanism behind faster sales, and the listings where photos won't save you.
Listings
The real photo count for a listing, by property type, plus what to shoot and what to leave out.
Listings
How twilight shoots work on a Paarl property, and when to skip one.
About the author
Founder & Lead Photographer, DV Media
Kyle has shot thousands of property listings across South Africa and writes DV Media's field notes on what actually moves a sale. More about Kyle →
Ask your agent to book a professional shoot, or send us the address and we will point you in the right direction.
Get in touchSelected property work and shoot notes from DV Media. Unsubscribe any time.
Subscribe